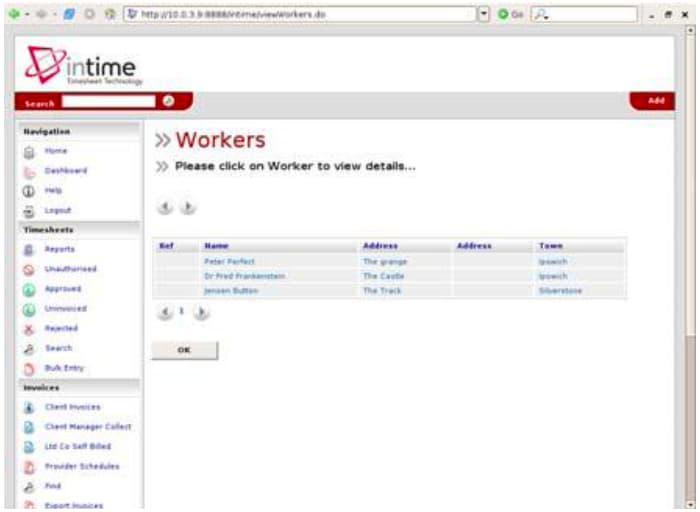
Welcome to TechNET’s online timesheet portal whereby you can approve and reject timesheets processed by the designated contractors.
The system is straightforward to use, but please consult the guide below for instructions.
Accessing the System
The first step is to open your web browser (usually Internet Explorer or Mozilla Firefox).
Once opened, you will need to enter your TechNET Timesheet Portal server address which would have already been sent to you.
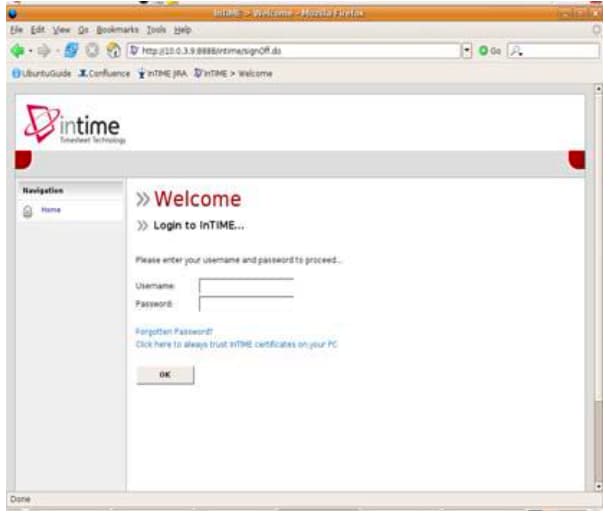
Once the Portal site has opened, you will be prompted for your Username and Password, which should have been provided. If this isn’t the case then please contact your recruiting consultant at TechNET or send an email to [email protected]
Once you have logged in you will be presented with the main Portal homepage with the navigation menu located on the left side of the screen.
The Main Menu
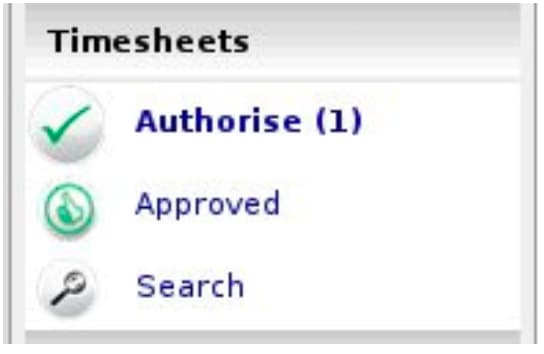
The Main Menu is located on the left side of the screen and allows you to access the various parts of the portal. The Menu consists of a timesheet menu that provides access to authorize timesheets, view previously approved timesheets, and a timesheet search tool.
The Profile menu provides access to your user profile where you can update your contact details and change your system preferences. The Profile menu also allows the management of the workers and their placements, as well as your company contact details and preferences.
Timesheet Basics
There are several different states of timesheets that you should be aware of –
Draft: A draft timesheet is one that a worker has created and saved but not yet submitted.
Submitted: A submitted timesheet is one that a worker has created and submitted for your approval. Submitted timesheets cannot be modified by the worker once they have been submitted.
Approved: An approved timesheet is a submitted timesheet that has been approved by yourself for payment.
Rejected: A rejected timesheet is a submitted timesheet that has been rejected by yourself. This could be because of incorrect hours or expenses. You can provide a comment as to why the timesheet was rejected. Once rejected, the timesheet becomes a draft for editing and resubmitting by the worker.
Approving or Rejecting Timesheets
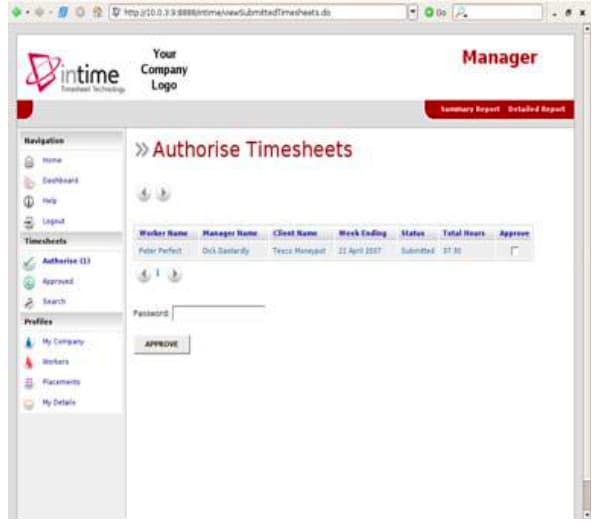
To approve or reject timesheets, you should click on the ‘Authorize’ item in the Timesheet menu. You will then be presented with a list of all timesheets submitted by workers that require your approval. Now, you can approve timesheets in one of two ways.
The quickest way is a Bulk Approve, where you simply tick each timesheet listed (on the right side of the timesheet entry) that you want to approve; enter your password and then click ‘Approve’. All of the selected timesheets will now be approved.
The other method is to approve each timesheet individually (by clicking on the name of the timesheet).
Once the timesheet appears, you must enter your password (at the bottom) and click either Approve or Reject. If you select Reject, you will be presented with a new page asking for a Reason for the rejection. This reason will be sent back to the worker so they can act accordingly.
Approved Timesheets
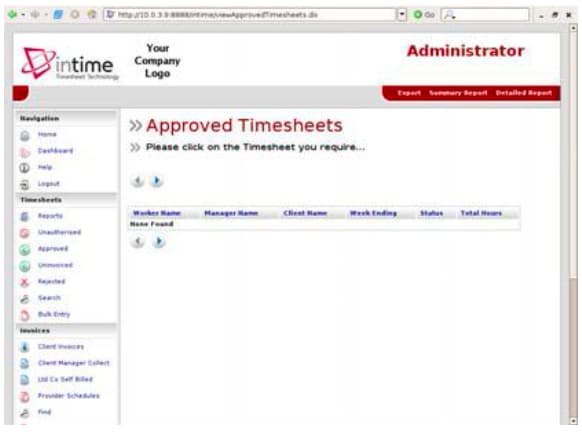
Once you have approved timesheets, they will be available for review in the Approved area, this can be accessed by clicking Approved on the timesheet menu. This will provide a list of all timesheets that you have approved. Clicking on the name of the timesheet will open the timesheet fully (if you require more information).
Search Timesheets
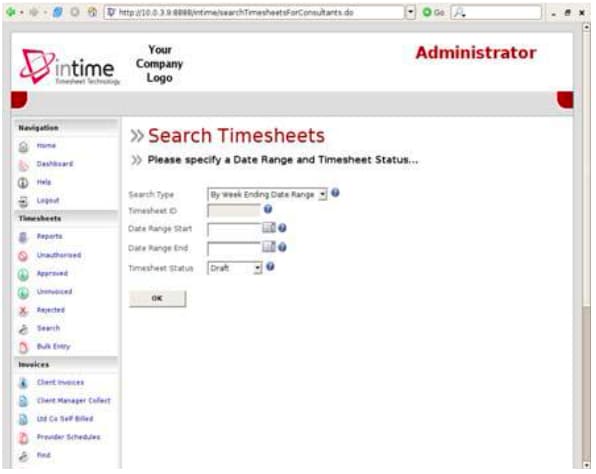
If you need to find a timesheet that was entered on a particular date, you can use the Search feature on the Timesheet menu to do this.
Once clicked, you will be presented with a search form, where you can specify the Start and Finish dates of the period you want to search, plus the timesheet status (i.e. draft, submitted, approved etc).
Once you are happy with your search criteria, click OK and your search results will be displayed. You can bring up more information on each timesheet by clicking on the blue arrow on the right side of the timesheet entry.
Viewing Profile Information
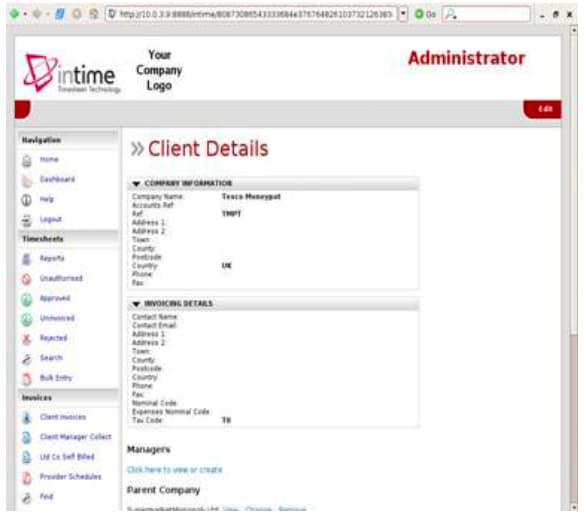
There are two types of profile information available as a manager. The first is your company details which can be accessed by clicking on ‘My Company’ in the Profiles menu. This provides Access to the basic setup information for the company, as well as links to managers and parent companies (if any).
The second profile section is your personal contact details which can be accessed by clicking ‘My Details’ in the Profiles menu. This provides access to all your personal details including email address and mobile telephone number, which is used for emails and text message alerts. You can also change your password and PIN numbers here too.
Viewing Placement
You can view the current placements of your workers via Placements in the Profiles menu. Clicking on this will provide you a list of all active placements that you are responsible for.
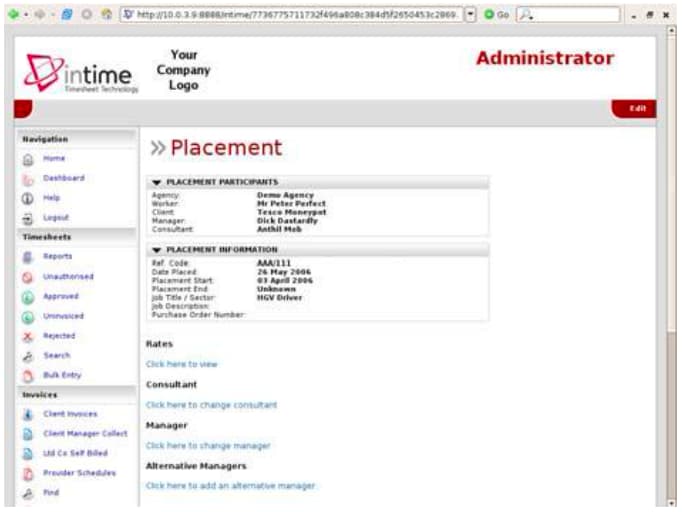
You can obtain more information relating to the placement by clicking on the name of the placement. This will show all details such as the agency, worker, manager and consultant associated with the placement as well as any reference codes, start and finish dates, job descriptions and holiday entitlements.
Please note the placement will not be visible until the contract is live (i.e. if you login prior to the start date the placement will not be shown).
